Any one can benefit from supple muscles and range of motion in movement. Please explore our daily activities for a wonderful now and more ease in your future.
Some pregnancies and even some births find these activities crucial for comfort or even for supporting a vaginal birth. Here’s some invitations your body may be giving you:
- Discomfort with walk or lying in bed trying to rest
- A difficult history of menstrual periods or conception,
- A challenging previous birth, long, painful or finishing by cesarean or other interventions
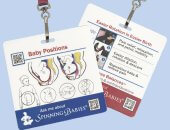
- Baby is breech, posterior or lying sideways (See our ebooks).
If you are at the end of pregnancy with any of those indicators, you may want to do these every day for a few days in a row, in addition to our Three BalancesSM and scheduling a Chiropractic appointment, or other professional. Book a body work session or online consultation with an Aware Practitioner on our list (in limited areas).
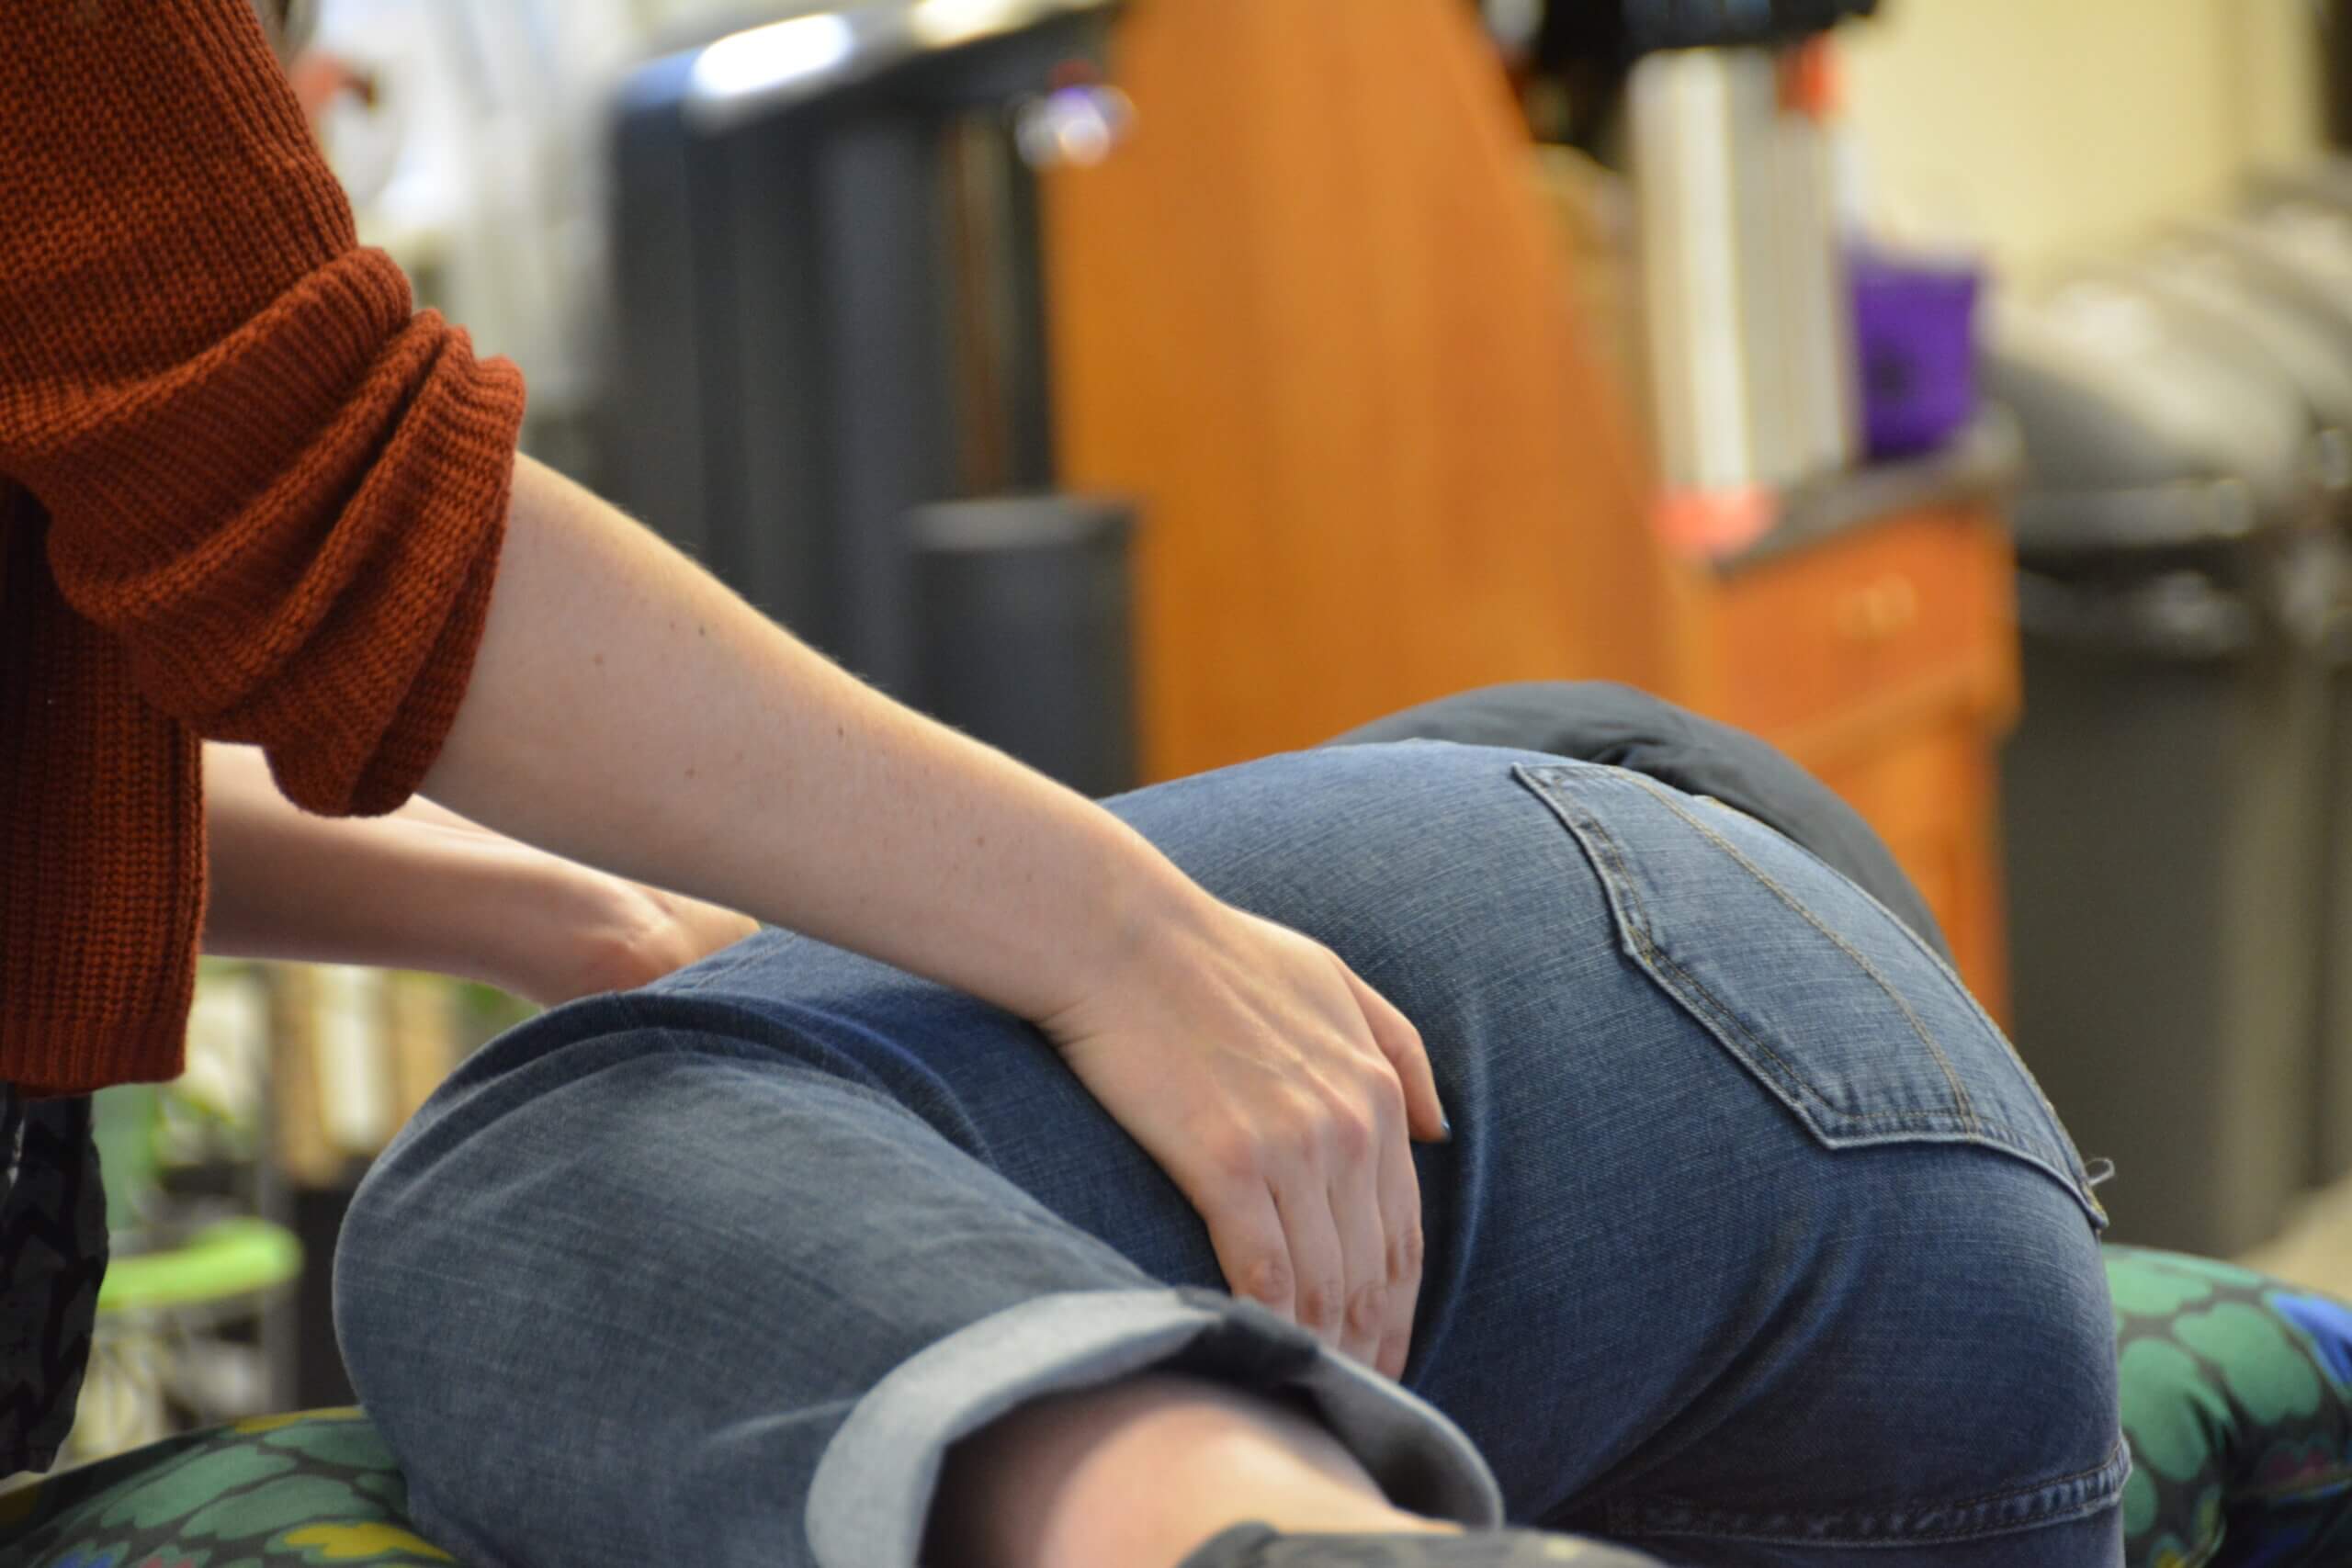
The Jiggle
The jiggle can be done daily but please do it weekly if you can’t do it daily. The Jiggle in this form is an abbreviated version of Jenny Blyth’s Pelvic Jiggle and Bum Jiggle.
Jenny Blyth is a Spinning Babies® Approved Trainer and Birth Attendant and Spinning Babies® Aware Practitioner Instructor in Australia. Jenny shares information about the value of gentle jiggle for relaxing while helping balance the nervous system. Jiggling in this way is calming and pain reducing.
Why Jiggle?
The fascia responds to a vibration motion by increasing hydration and circulation. Improved function of the fascia allows for muscles, ligaments and even joints to function better in turn. The sacrum itself can become a focus of the jiggle and begin to become more mobile. This could lead to an improvement in rotation and descent.
The Jiggle is one of the most luscious relaxation techniques when done with presence. There is a quality of the touch that invites trust. Just about anyone will enjoy being jiggled.
Depending on hand placement and length of jiggling, various parts of the body may be relaxed and enlivened:
- The lower back muscles
- The muscles of the buttocks
- The muscles of the pelvic floor through jiggling the sitz bones for a good while
- The bone at the back of the pelvis is the sacrum and it is more able to rock the top forward and back to open the top or the bottom of the pelvis as needed.
- The hip joint
- The SI joint
- Midback (use finger tips not big jiggles)
The Bum Jiggle with Fiona Hallinan, Midwife and Spinning Babies® Approved Trainer and Aware Practitioner.
Learn how to Jiggle safely and effectively on our main jiggle page.
The Thigh Jiggle
Mexican, Central and South American midwives have their own variation of a jiggle:
Rebozo Sifting (Manteado)
The Rebozo is a long woven cloth from indigenous cultures of Mexico, Central America, South America (a similar cloth is used in Russian tradition). Rebozo sifting or Manteada relaxes smooth muscles that the pregnant person can’t relax by will.
In Spinning Babies® we are becoming more aware of the nuances of using the Rebozo in our repertoire. Please read more on our Rebozo page about how we are moving to support the culture of the Rebozo.
For more information on Spinning Babies® and the Rebozo click for our story of respectful use of the Rebozo.
ACTIVITY 2:
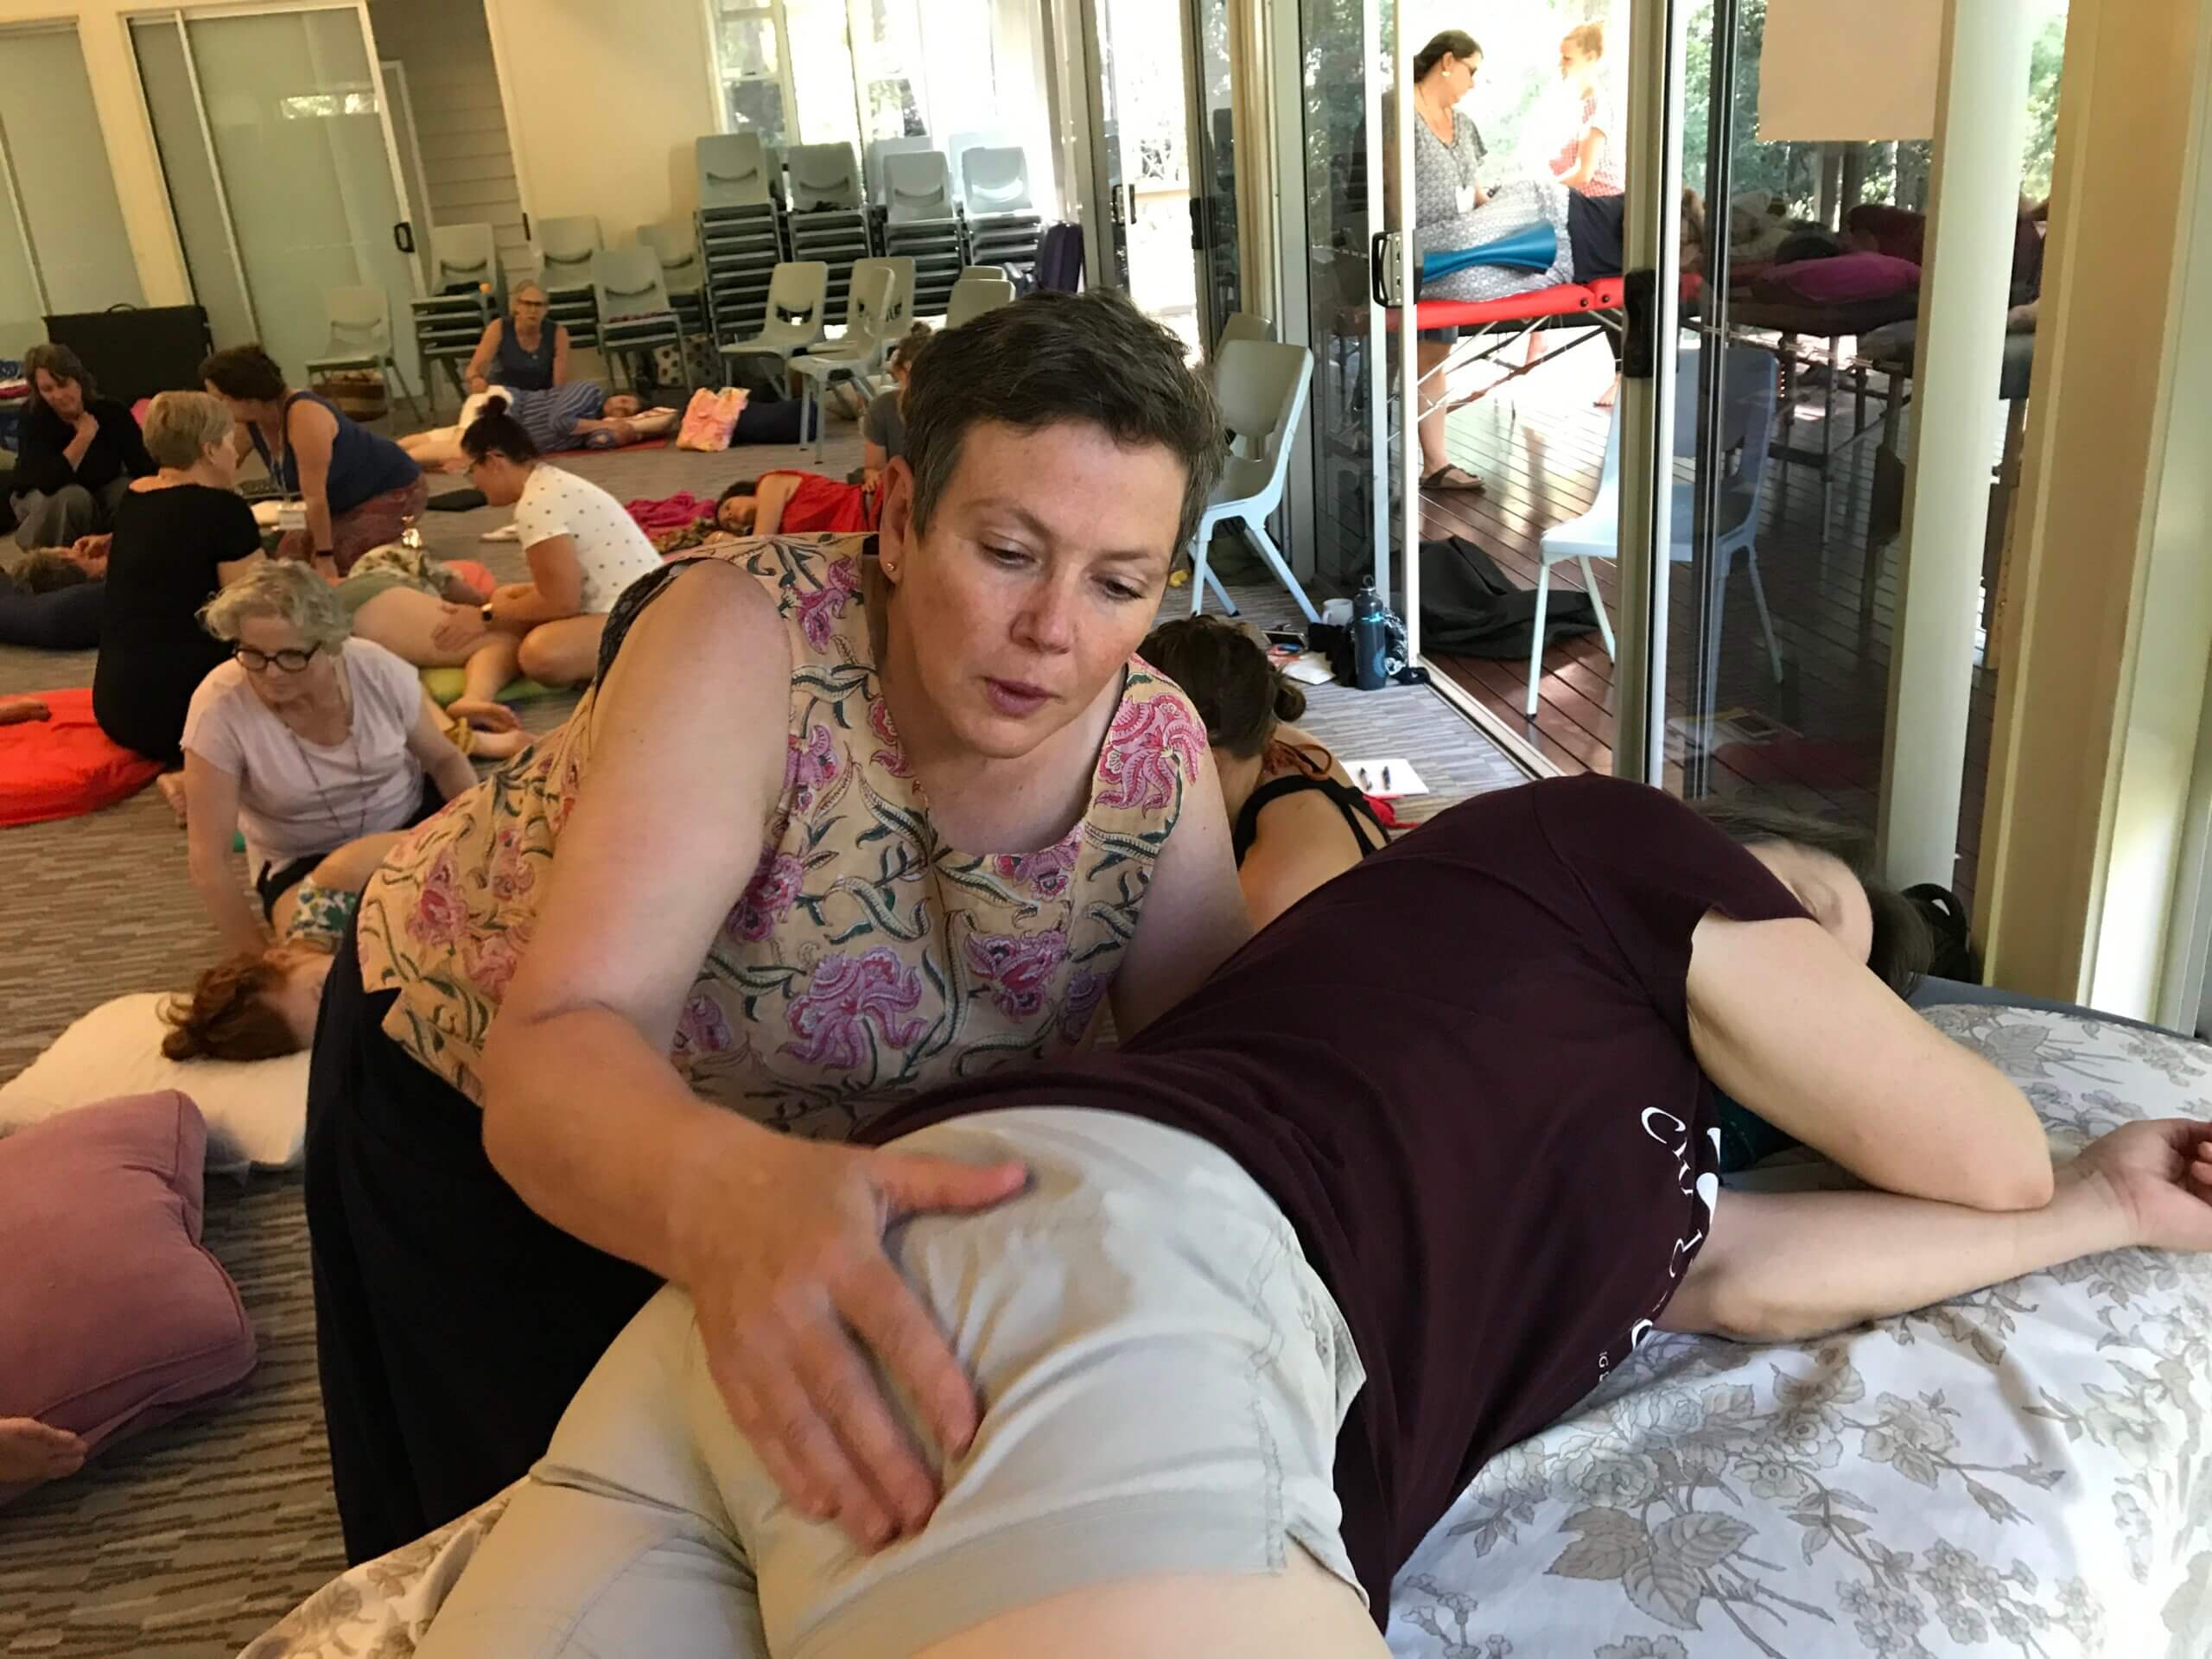
Standing Sacral Release (A fascial technique)
Why? This re-balances the tough membrane (fascia) that wraps the sacrum. Sometimes the sacrum has a “buckle” or “wrinkle” in it which twists the lower uterine segment in turn. This is likely to release the “wrinkle” and, in turn, untwist the lower uterine segment.
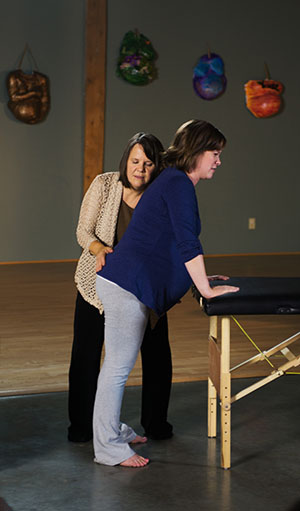
Standing Sacral Release Photo By Villano Photography
Doing this weekly is helpful. Repeat in labor. Do this after a long car ride to help avoid breech. Daily, if the partner can do it, when the baby is breech or persistently posterior.
See more on our Standing Release page.
Thanks: to Dr. Carol Phillips, DC, in Annapolis, MD, for teaching us the benefits of the Standing Sacral Release
ACTIVITY 3:
Diaphragmatic Release or Abdominal Release
This simple hold relaxes the broad and round ligaments helping the pelvis to come into balance.
Who does this? A fascial release therapist or craniosacral therapist can teach this and you can learn to do this as a couple or with a doula or friend.
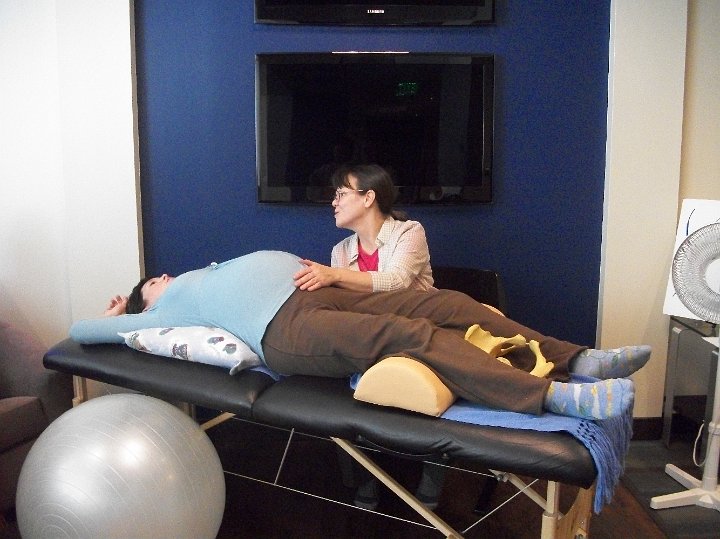
Thanks again to Dr. Carol Phillips, DC!
ACTIVITY 4:
Side-lying Release
Why? An imbalance in the pelvic floor twists the lower uterine segment (are you seeing how these body structures are all related?). This asymmetry can lead to malpositions such as a brow presentation, a posterior baby, or a breech. However, it is most often associated with the asynclitic baby, the one whose tipped head makes vaginal birth a challenge with long pushing stages and perhaps a switch to cesarean delivery.
Who does this? This can be learned from a fascial therapist or another professional who uses Dynamic Body Balancing techniques taught by Dr. Carol Phillips, Chiropractor. A pregnant person and a birth partner can even do it themselves at home!
How? The pregnant person lays on the side more comfortable to start with. Shoulders are one above the other and the pelvis is not tilted! She can’t be leaning back to look up at you, for instance.
Her upper hip starts out directly above the other one. So her top leg is resting upon the lower leg. Her lower leg is straight as an arrow. Very straight. Her partner or her doula supports her shoulders so the top shoulder doesn’t tip forward. Face-to-face encouragement can be vital in labor and be the key to success! Don’t ask the laboring mother to do this without eye-to-eye contact and constant encouraging words! I’m serious!
The helper holds the anterior superior iliac crest… or the front of the hip bone. Press down about as much as you would to put a lid on a food container… firm but not a lot. Enough to notice, but not to make a statement.
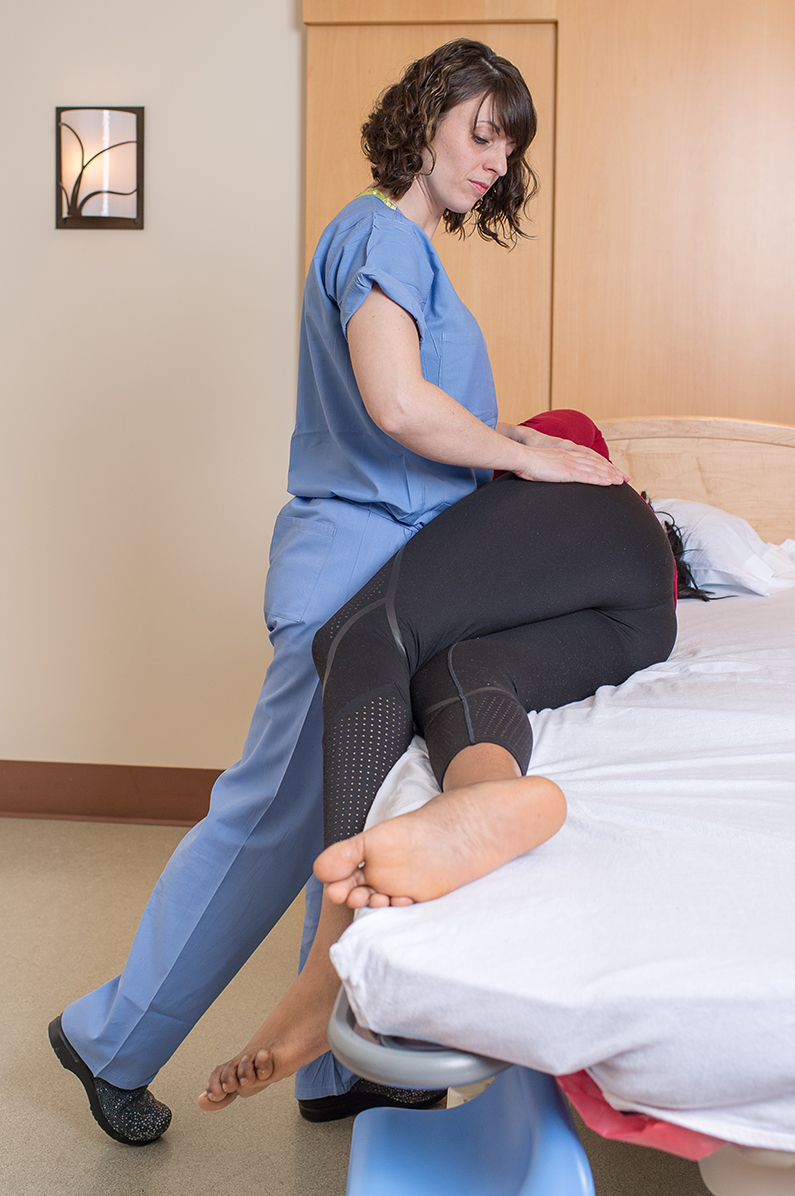
Side-lying Release needs precise alignment
The mother has to be so close to the edge of the firm, hard surface that she relies on you totally to hold her from tipping off! Be trustworthy!
As the helper pushes down and back on her hip bone, the mother lets her top leg fall into the air. It hangs limp – you’ll have to coach her to let her leg go. Hold her firm so she believes she can do this without slipping off. Let her leg hang freely — it should not touch the floor or you! Wait a minute or two. In labor, wait through and between three contractions (two if she seems like she’d never make it through three, you know her personality).
Then she lifts her leg back up. Someone might help her but it can’t be the helper, she (or he) is holding her hip and must continue to so the mom won’t fall. She can lay on her back a second, then she switches sides. Her head goes where her feet were, or she switches to the other side of a massage table. Repeat for the other leg. Be confident and inspire confidence in the mother.
How long? This is hard to answer, but most important is to do it on both sides!
How frequent? A time or two in pregnancy and then again in those labors that are long, delayed, or that have malpositions.
Do this for… asynclitism; posterior presentation; to enhance a vaginal breech (done before labor or in early labor); slow descent due to a first time mother’s strong pelvic floor (ballerinas and horseback riders, runners, etc.) Long previous labors or pushing stages. Hip pain. Preventative or to help along a labor.
Don’t do this if…. you have significant back injuries, like surgeries or spinal damage. You wouldn’t do it with a very large woman if you couldn’t hold her from falling forward off the table or hospital bed. There is no need to do this if labor is progressing well. It can be done during pushing stage if labor slows due to a “tight fit” or asynclitic head or there is reason to “make more room.”
Note: Make sure to explain to the mother first that this may be a somewhat uncomfortable technique (some pregnant women find it more comfortable than not! Others find it challenging when a head is in the pelvis). Explain that it is vitally important to do it on both sides so that more asymmetry isn’t caused by doing it on only one side – and really tipping the head to the side because it was only done on one side.
Ask the laboring mother before you start, to hold the position for 3 contractions on one side and 3 contractions on the other side. Let the mother pick which side to start on. She will pick the more comfortable side first and that’s fine.
This technique is awesome. It has helped many women avoid a cesarean (but not all). I would say it works wonders! After it’s done, the reduction in the pain women feel in labor is significant!
Again, thanks to Dr. Carol Phillips, DC!